Many homeowners spend thousands on new cabinets, then watch gaps appear after installation. Learning how to install kitchen cabinets the right way starts before any drill touches the wall.
Costly gaps in kitchen cabinet installation rarely come from the cabinet itself. They come from uneven walls, unlevel floors, missing fillers, and poor site preparation. A professional installation starts with accurate measurements, confirmed drawings, proper cabinet numbering, and a clear plan for every panel and trim piece.
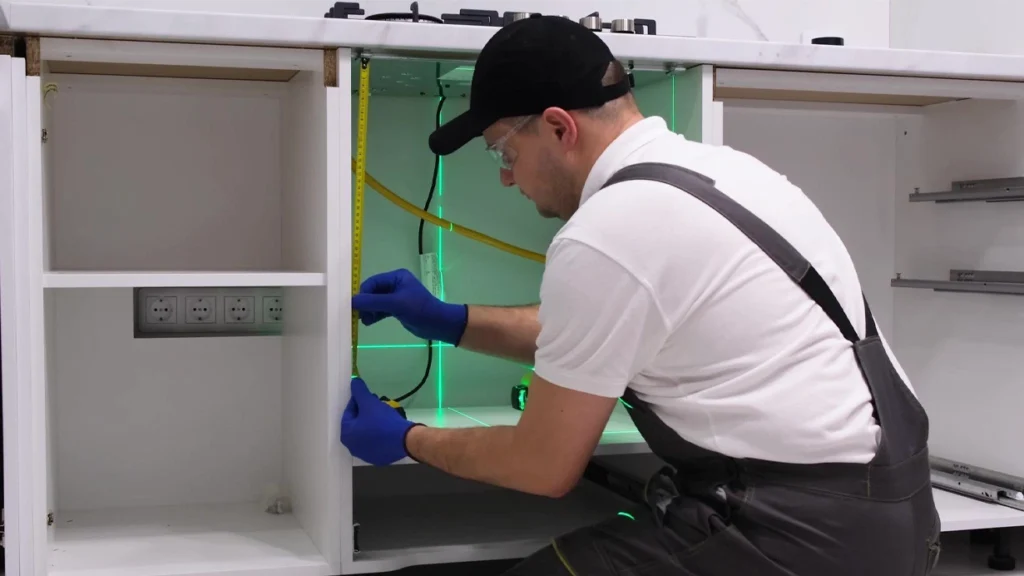
Most people focus on the cabinets themselves. The real problems hide behind them — in the walls, floors, and missing details that no one checks until it is too late. I have seen this happen on projects of every size, and the fix is always the same: better preparation upfront.
Can You Install Kitchen Cabinets Yourself?
You found a great deal on cabinets and now wonder if you can skip the installer. But the real question is not whether you can hang them — it is whether they will look right when you are done.
DIY cabinet installation is possible for simple setups: small laundry rooms, garage cabinets, or a basic row of base cabinets on a flat floor. A full kitchen with upper cabinets, custom panels, stone countertops, or ceiling-height units is a different challenge that most homeowners underestimate.
When DIY Makes Sense
Small, low-risk projects — A single row of standard base cabinets in a laundry room or garage is a reasonable DIY job. The stakes are low, the layout is simple, and the walls are usually flat enough to work with.
Pre-assembled flat cabinets — If the cabinets are pre-built, the walls are plumb, and the floor is level, one person with a drill and a level can manage installation in a day.
When you need a second person — Upper cabinets should never be installed alone. A single large wall cabinet, especially with solid wood doors or glass panels, is heavy and awkward. Dropping it means broken cabinets and a possible injury.
| Situation | DIY Suitable? |
|---|---|
| Small laundry or garage cabinet | Yes |
| Simple base cabinet row, level floor | Yes |
| Full kitchen with upper cabinets | Not recommended |
| Ceiling-height or tall cabinets | No |
| Stone countertop and integrated appliances | No |
| Brick, plaster, or uneven walls | No |
| Imported or custom cabinets | No |
For high-end kitchens, the risk is not just “can you hang the box.” The real question is whether the door gaps are consistent, the panels are flush, the fillers are tight, and the countertop has full support underneath. These details are what separate a custom-looking kitchen from one that looks like a weekend project.
What Should You Check Before Installing Kitchen Cabinets?
You open the delivery boxes and assume everything is there. Most people skip this step entirely — and pay for it when an installer shows up and something is missing or damaged.
Before installation begins, check every cabinet body, door, drawer, shelf, and hardware piece against the packing list. Confirm the shop drawings match the site conditions. Check walls, floors, corners, and all appliance openings. For imported or custom cabinets, this step is even more important because replacing a missing part takes weeks.
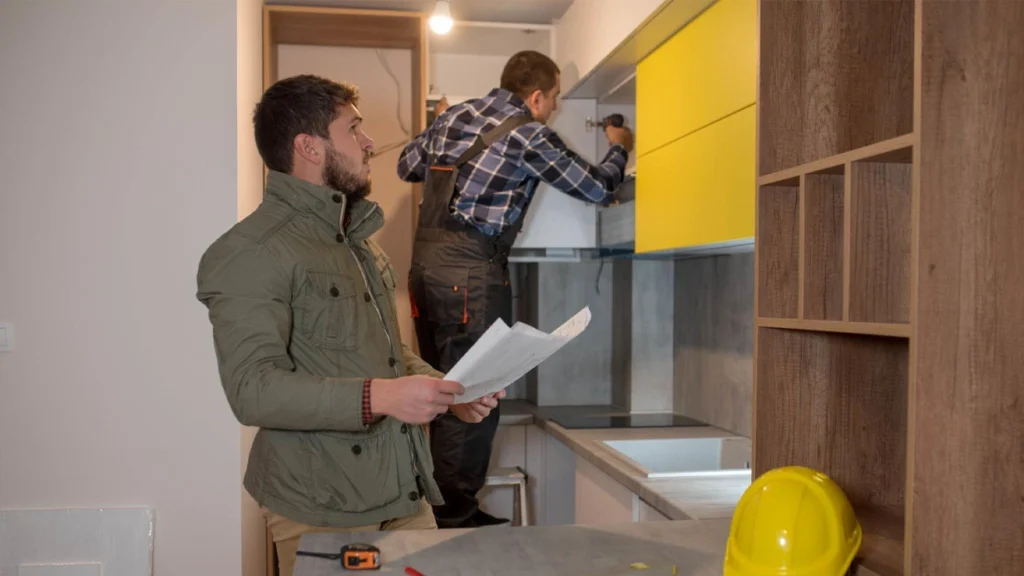
Delivery and Packing Check
Cabinet bodies — Check every box against the cabinet list. Count the units, confirm the sizes match the drawings, and look for any shipping damage on corners, edges, and painted surfaces.
Doors, drawers, and shelves — These are often packed separately. Match them to the drawing. Check hinges, drawer slides, pulls, and any glass or special finish doors for chips or cracks.
Filler strips, toe kicks, side panels, and crown molding — These finishing pieces are easy to miss in a packing list but impossible to fake on site. A missing filler strip means a visible gap at the wall.
Drawing and Site Check
Shop drawings — Confirm you have a floor plan, elevations, cabinet numbers, door swing directions, handle positions, and notes for outlets, pipes, and appliances.
Wall and floor conditions — Check whether the walls are plumb and the floor is level. Find the highest point on the floor. Check every corner for a true 90-degree angle. Note any baseboard heating, protruding pipes, or old plaster that might affect how cabinets sit.
Appliance openings — Confirm the final dimensions of the refrigerator, dishwasher, oven, range hood, and sink. These must be locked in before cabinets are made, not after they arrive.
For imported or custom cabinets, I always ask the factory to send a numbered packing list, labeled packages, and a full installation drawing before the order ships. When a local installer opens ten identical-looking boxes without labels, the chances of error go up immediately. A clear drawing and a numbered cabinet list removes the guesswork on site.
Where Do You Start When Installing Kitchen Cabinets?
Many first-time installers grab a level and start with the corner. That is almost never the right starting point — and one wrong decision here affects every cabinet, door gap, and countertop that follows.
Start by finding the highest point on the floor, not the lowest. From that point, draw a level horizontal line at the height of the finished base cabinet top. Use that as your reference for every other measurement in the room — upper cabinet height, appliance openings, and countertop level.

Step-by-Step Starting Sequence
Find the floor’s high point — Use a long level or laser level across the floor. The highest point sets your base cabinet height. All shims work up from here, not down.
Mark the base cabinet top line — Measure up from the high point to the finished top height of the base cabinets. Draw a level line across the entire wall. This controls the countertop level.
Mark the upper cabinet bottom line — From the base cabinet top line, measure up for countertop thickness and the gap between countertop and upper cabinets. Draw a second level line. This controls how to install kitchen cabinets upper and sets their height across the room.
Locate and mark the studs — Use a stud finder and mark every stud position. Transfer those marks above the upper cabinet line so they stay visible during installation.
Check walls for plumb — Hold a level against the wall at several points. Note any walls that bow in or out more than a few millimeters. These spots will need scribe panels or fillers.
In an older home or a villa renovation, the floor and walls are rarely flat. I have seen floor height differences of more than two inches across a kitchen. If you start from the wrong point, the whole row of cabinets tilts. Then the countertop follows. Then the gap between the countertop and the upper cabinets looks uneven. Every visible problem in a finished kitchen usually traces back to this first step.
How Do You Install Upper and Base Cabinets Correctly?
Hanging a wall cabinet looks simple until the cabinet is above your head and nobody is holding the other end. Getting both upper and base cabinets installed correctly requires different strategies and different tools.
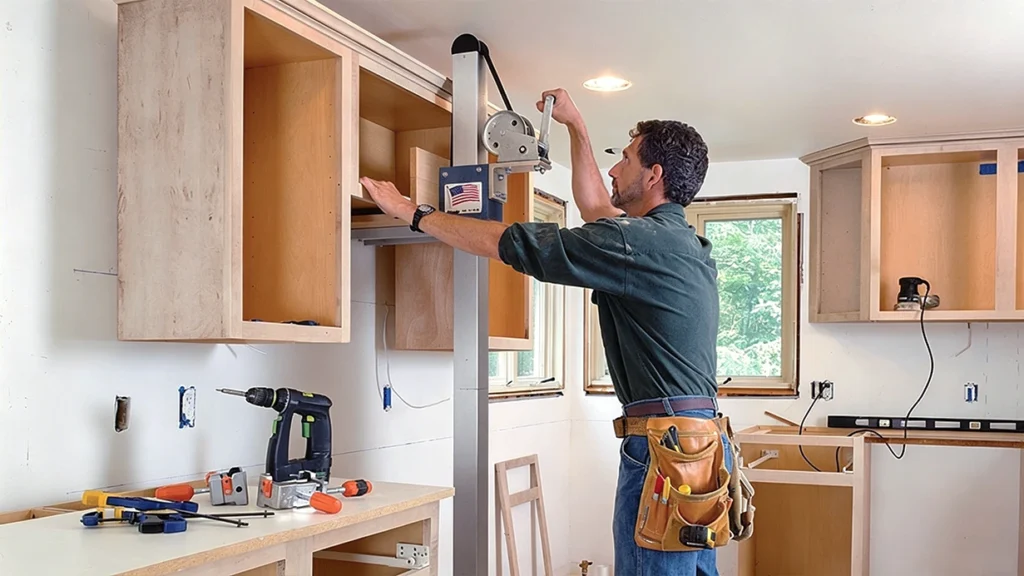
Install upper cabinets before base cabinets so you have clear floor space to stand and work. Use a ledger board to support the upper cabinets at the correct height while you fasten them to the studs. For base cabinets, start at the highest floor point and use shims to bring every unit to the same level.
Source:
https://www.youtube.com/watch?v=BYcrq2OLFwc
Install Upper Cabinets
Remove doors, drawers, and shelves first — This reduces weight and makes the cabinet body easier to lift and hold in position. It also protects the door finish during installation.
Set a ledger board — Temporarily screw a straight board to the wall at the upper cabinet bottom line. This holds the cabinets at the correct height while you drive the fasteners. It removes the need for a second person to hold the cabinet.
Fasten to studs, not drywall — Drive screws through the cabinet’s top rail and back panel into the wall studs. Use proper cabinet screws, not standard drywall screws. If a stud falls in the wrong place, use blocking, a French cleat, a metal plate, or masonry anchors depending on the wall type.
For brick walls — Use masonry anchors rated for the cabinet weight. Confirm the brick is solid and not a thin facade. This is a common issue when learning how to install kitchen cabinets on brick wall.
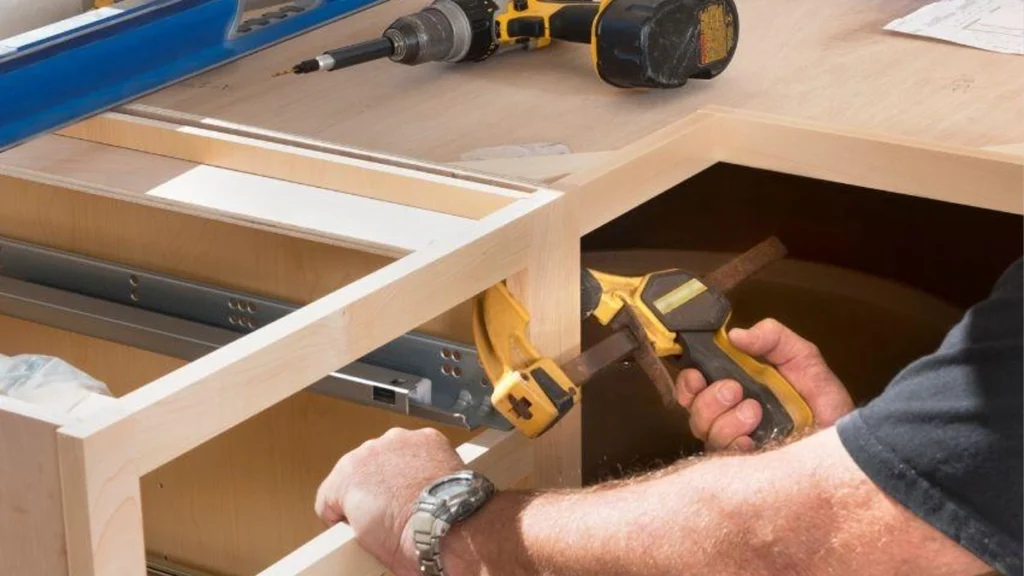
Clamp adjacent cabinets before connecting — Pull two cabinet bodies together with clamps, check that the face frames or fronts are perfectly flush, then drive screws through the side panels to join them. This keeps the row straight.
One person should not hang a large wall cabinet alone — A 36-inch upper cabinet with solid wood doors is heavy. Without a second person or the ledger board method, it is dangerous and nearly impossible to fasten accurately.
Install Base Cabinets
Start at the corner or the highest floor point — Set your first base cabinet at the position that controls the rest of the layout. Check it for level in both directions and plumb front to back before moving on.
Use shims under the base — Slide shims under the cabinet until the top sits exactly on your reference line. Check level in all four directions. Do this for every cabinet before you connect anything.
Connect adjacent cabinets the same way as uppers — Clamp, check flush, then fasten through the sides. Keep the front faces aligned and do not rely on the wall to hold them straight.
Cut plumbing holes before the sink base goes in — Mark the pipe locations on the cabinet base and sides before pushing it into position. A clean cut looks professional. A cut made after the cabinet is in place usually looks rough.
Island cabinets need floor anchors — A freestanding island cannot just sit on the floor. It must be fastened down, or it will shift over time.
Trim shims flush and cover with toe kick — Leave the shims in place for stability, but cut off any part that sticks out past the cabinet face. The toe kick cover hides everything cleanly.
For a high-end kitchen, base cabinets do more than hold things. They are the foundation for a quartz or marble countertop. If the cabinet tops are not all level and solid, the countertop will flex, stress at the joints, or crack over time. I tell every client: the cost of fixing a countertop later is far higher than the cost of getting the cabinets level now.
Should Flooring, Drywall, Paint, and Countertops Be Done Before Cabinets?
The order of trades on a kitchen renovation causes more arguments than almost any other topic. Getting it wrong means redoing expensive work or living with a finish that looks rushed.
Complete drywall and primer before cabinet installation. Apply base coats of wall and ceiling paint before cabinets go in, then touch up after. For countertops, always template after base cabinets are leveled and secured. Flooring order depends on material — tile and hardwood follow different rules than floating vinyl.
Drywall and Paint
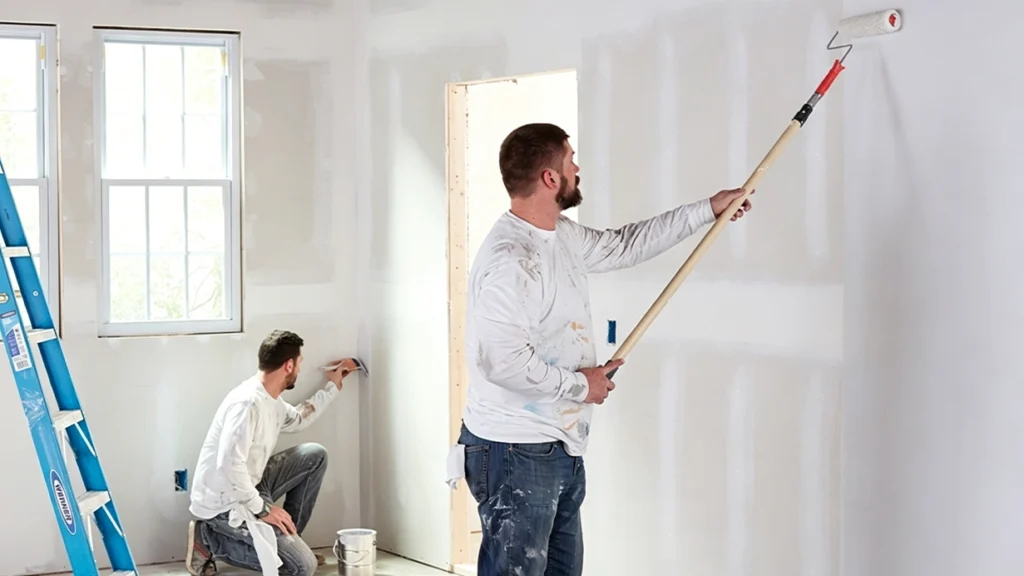
Drywall should be taped, floated, and primed before any cabinet goes up. Bare drywall behind installed cabinets causes problems with moisture, smell, and edge finishing. It also makes later touch-ups much harder.
Paint the walls and ceiling first — Apply at least the base coats before installation. You cannot roll a brush behind a cabinet that is already on the wall. Touch up after the cabinets are in using a small brush.
Flooring Order by Material
Tile — Plan the floor height before ordering cabinets, especially for dishwashers and refrigerators. A tile floor raised 15mm changes whether your appliance fits under the countertop. Most installers prefer to set cabinets on a flat subfloor and tile up to the toe kick.
Hardwood — Can be installed across the full floor before cabinets, or stopped at the cabinet line with a small riser. Full coverage under the cabinets costs more but protects resale value and makes future changes easier.
Floating vinyl or laminate — Do not put fixed base cabinets on top of a floating floor. The floor needs room to expand and contract. The cabinet weight restricts that movement and can cause buckling or joint separation.
Countertops and Appliances
Template after base cabinets are fully installed and level — Never template from a drawing. The stone fabricator needs the real positions of the cabinets, sink, and appliances. A countertop template made too early causes gaps or overhangs that cannot be fixed.
Confirm appliance dimensions before cabinets are made — This is a critical step for how to install kitchen cabinets and countertops correctly. An integrated refrigerator, dishwasher, or built-in oven has exact opening requirements. These must be locked in before the factory builds the cabinets, not after they arrive.
A kitchen is not a single product — it is a system. Cabinets connect to flooring, walls, countertops, appliances, and plumbing. I have seen beautiful imported cabinets installed over bare drywall, on top of floating floors, and beside appliances that were the wrong size. Every one of those mistakes was cheaper to avoid than to fix. The sequence matters more than most people realize.
How Do You Handle Uneven Walls, Brick Walls, Pipes, and No Studs?
Real kitchens are never perfectly square, level, or flat. The conditions you find on site are rarely what the drawings show — and the gap between the two is where most installation problems begin.
Uneven walls require shims behind the cabinet and filler or scribe panels at the wall edge. Brick walls require masonry anchors, not standard screws. Areas with no studs need blocking, a French cleat, or metal reinforcement added before installation. Pipes and obstructions must be planned in the drawing stage, not solved on site.
Handling Uneven Walls and Floors
Shims behind cabinets — If a wall bows inward or outward, shimming the cabinet out to the plumb line keeps the front face straight. A cabinet screwed directly to a curved wall will twist and the doors will not close evenly.
Filler and scribe panels — The gap between the shimmed cabinet and the wall needs a filler strip or scribe panel. This is not optional for a high-end finish. A raw gap at the wall says the kitchen was not planned properly.
Uneven floors — A height difference of one inch across a kitchen is common in older homes. If the difference is too large for shims alone, the subfloor may need leveling compound or the toe kick height may need to be adjusted across the run.
Brick Walls and Plaster Walls
Brick walls — Standard wood screws will not hold. Use masonry anchors or masonry screws rated for the full weight of the loaded cabinet. Check whether the brick is structural or a decorative veneer before drilling.
Plaster walls in older homes — Do not trust a stud finder alone. Plaster walls can have irregular framing or wood lath behind them. Test your anchor points carefully and add blocking if needed.
No Studs, Pipes, and Obstructions
No studs at the right location — Add blocking between existing studs before the drywall goes on. If the wall is already closed, a French cleat, metal support rail, or through-bolted plate can work depending on the load.
Pipes and utilities — The sink base cutout for pipes should be shown on the drawing, not discovered on site. Water pipes, gas lines, and electrical boxes need to be mapped before cabinets are made.
Baseboard heating — Decide before installation whether the heater will be removed, rerouted, or kept with a clearance gap. A cabinet sitting over an active baseboard heater is a fire risk and a comfort problem.
I have been on sites where the installer found a three-inch wall bulge, a gas line in the wrong spot, and no studs behind the upper cabinet run — all on the same job. Each one was solvable. But solving them on the day of installation costs time, money, and stress. The same issues caught during the site check before production cost almost nothing.
How Much Does It Cost and How Long Does It Take to Install Kitchen Cabinets?
Clients ask me for a number, and I always give them a scope list instead. A low quote that does not include the right work will cost more in the end.
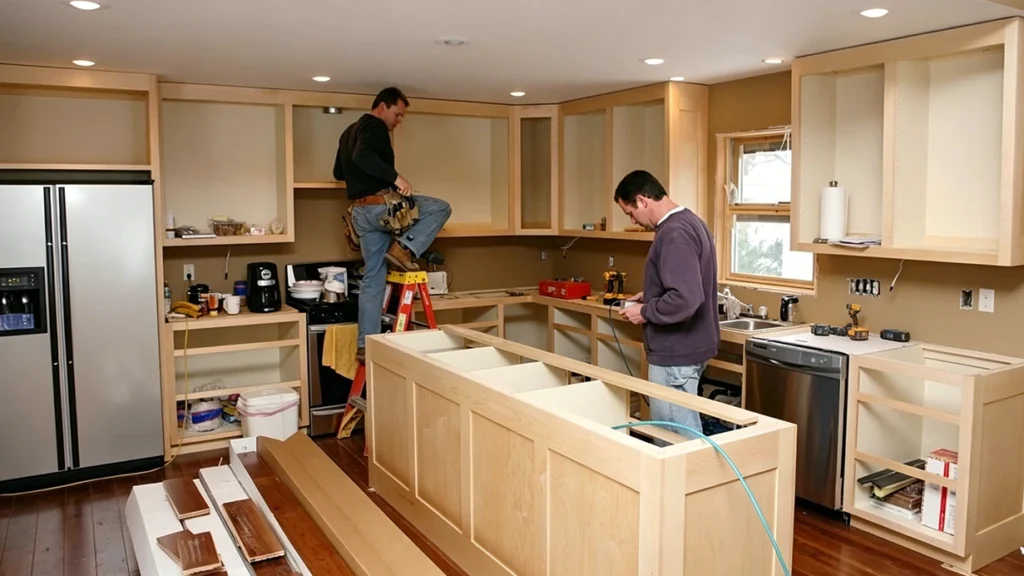
Kitchen cabinet installation labor in the US typically ranges from $50 to $100 per linear foot, or $200 to $500 per cabinet, depending on complexity. A standard 10×10 kitchen usually takes two to five days. Custom, imported, or complex installs take longer and require more coordination — the quote must reflect the full scope.
Source:
https://www.homewyse.com/services/cost_to_install_cabinets.html
What the Cost Should Include
Labor-only scope — If you supply the cabinets, confirm that the quote covers assembly, upper cabinet hanging, base cabinet leveling, shimming, door and drawer adjustment, filler and trim installation, toe kick fitting, and hardware installation. How much does it cost to install kitchen cabinets labor only depends heavily on what is included in that list.
Removal of old cabinets — This is almost always a separate line item. It adds cost and time and often reveals surprises behind the old cabinets.
Difficult site conditions — Brick walls, uneven floors, no studs, plaster walls, and island anchoring all add to the labor time. A quote that does not mention these conditions has not accounted for them.
Countertop coordination — If the installer is not also doing the countertop, someone needs to coordinate the template visit, the cutout specs, and the final installation sequence. That coordination has a cost.
| Cost Factor | Notes |
|---|---|
| Labor per linear foot | $50–$100 typical range |
| Per cabinet unit rate | $200–$500 depending on type |
| Old cabinet removal | Add $300–$600 or more |
| Difficult walls or floors | Add time and materials |
| Crown, filler, toe kick, trim | Should be included — confirm |
| Door and drawer adjustment | Must be included |
| Countertop coordination | Confirm who is responsible |
How Long Does Installation Take?
A standard 10×10 kitchen with pre-assembled cabinets, flat walls, and a level floor takes two to three days for an experienced team. A larger kitchen, a villa project, or a custom import install with multiple rooms can take one to two weeks.
For imported cabinets, the on-site time is only part of the picture. Unpacking, checking against the packing list, sorting by room and number, and protecting the cabinets during other trades all add hours before the first cabinet goes on the wall.
A quote is not just a number. It is a list of what someone is responsible for. I always ask clients to compare quotes by scope, not by price. A $4,000 quote that includes door adjustment, filler panels, and toe kicks is often better value than a $2,500 quote that stops after hanging the boxes.
How Do You Know If Kitchen Cabinets Are Installed Correctly?
Most homeowners sign off on a cabinet installation without knowing what to check. The installer says it is done. You nod. Two weeks later you notice the doors are uneven, a drawer scrapes, and there is a gap at the wall.
A correctly installed kitchen has level and plumb cabinets, consistent door gaps, smooth drawers, flush adjacent faces, tight scribe panels, continuous toe kicks, and full support under every countertop. These items must be checked before the installer leaves — not after.
Installation Quality Checklist
Cabinet level and plumb — Use a level on the top and side of each unit. Nothing should rock or tilt.
Fixed to structure — Push on the upper cabinets. They should not flex. If they move, the fasteners are not reaching solid structure.
Adjacent faces flush — Run your hand across the joint between two side-by-side cabinets. You should not feel a step.
Consistent door gaps — Stand back and look at all the doors at once. The gap between every pair of doors should be the same — usually 2 to 3mm. Uneven gaps are one of the most visible signs of poor installation.
Drawers smooth with no scraping — Open and close every drawer fully. It should glide without catching. Adjust the slides if it does not.
Handles and pulls at consistent height — Use a template to check that every handle is at the same position. An inconsistent handle height looks unprofessional even on expensive cabinetry.
Filler and scribe panels tight — No visible gap between the panel and the wall. No raw edge showing.
Toe kick continuous and flat — No kicks that stick out or pull away.
Crown or top trim without gaps — Especially at corners and ceiling transitions.
Sink base cutout clean and sealed — The opening should be neat and have moisture protection applied.
No installation damage — Check painted surfaces, door edges, and hardware for any marks made during installation.
One thing I tell every client: a cabinet installation is not finished when the boxes are on the wall. It is finished when the doors are adjusted, the drawers move smoothly, the fillers are fitted, and every trim piece is in place. That full scope should be in the contract before work begins — not added as an argument at the end.
Can Imported or Custom Kitchen Cabinets Be Installed Locally?
Many of my clients buy factory-direct custom cabinets made overseas and then ask a local contractor to install them. The question they always have is: will the local installer be able to figure it out?
Yes — but only if the factory provides the right documentation. A local installer can install imported or custom cabinets successfully when they receive numbered cabinets, a complete packing list, floor plans, elevations, hardware notes, and filler details. Without those documents, guesswork replaces planning, and mistakes become expensive.
What the Factory Must Provide
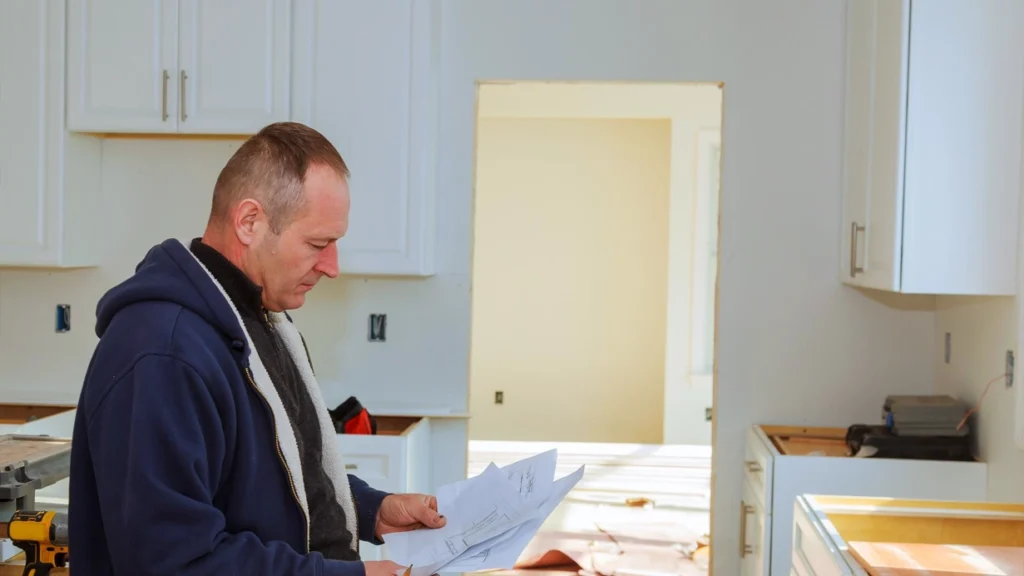
Final shop drawings — Floor plan and elevations showing every cabinet, its number, its position, and its dimensions. These are the local installer’s reference for the entire job.
Cabinet-by-cabinet list — A written list matching each numbered label on each package to the cabinet’s size, type, and location in the drawing.
Numbered labeled packages — Every box should have a cabinet number that matches the drawing and the list. Opening ten identical-looking boxes without labels is a common cause of installation errors.
Hardware list — A complete count of hinges, slides, pulls, screws, and any special items. If something is missing, the installer needs to know before starting, not halfway through.
Filler, scribe, and panel details — These finishing pieces are often the least documented. The drawing must show where each one goes, what size it is, and how it meets the wall.
Countertop and appliance opening notes — Any opening that affects a local trade or a local purchase needs to be clearly marked on the drawings.
QC photos before shipment — Factory photos of assembled cabinets confirm that what was packed matches what was ordered.
Export-grade packing — Foam corners, board protection, and waterproof outer packaging prevent the transport damage that can ruin a cabinet before installation even starts.
What the Local Installer Needs to Do
The local installer should unpack cabinets by room, lay them out in order against the drawing before any holes are drilled, mock up the full layout to catch any site-versus-drawing differences, and communicate any issues back to the supplier before making permanent cuts or changes.
I have built our process at George Construction Group around exactly this documentation package. A client in the US or Australia buying cabinets from our Foshan factory needs to trust that the person installing them locally has everything they need. That trust comes from the paperwork, not from hoping the installer figures it out. The goal is that when the boxes arrive, installation is planned — not improvised.
Case Snapshot: Luxury Villa
What Are the Most Common Kitchen Cabinet Installation Mistakes?
Most cabinet problems are not random. The same ten mistakes appear on projects of every size. Knowing them before you start is the cheapest way to avoid them.
The most common kitchen cabinet installation mistakes include starting from the wrong floor reference, fastening to drywall instead of studs, skipping filler panels, and ignoring appliance dimensions. For imported or custom cabinets, the biggest mistake is receiving cabinets without numbered packages and installation drawings.
The Top Ten Mistakes
Mistake 1: Not finding the floor’s high point — Starting from a low point means the first cabinet sits right but the rest of the run rises until the last cabinet does not fit under the upper line.
Mistake 2: Fastening upper cabinets to drywall only — Standard drywall screws cannot support a loaded wall cabinet long term. The cabinet will pull away from the wall, sometimes suddenly.
Mistake 3: Forcing cabinets flat against an uneven wall — A wall that bows pushes the cabinet out of plumb. The front face twists and the doors will not sit right. Shim first; then add scribe or filler.
Mistake 4: No filler or scribe panel at the wall — A raw gap between cabinet and wall looks unfinished regardless of how expensive the cabinet is. Fillers are cheap; the visual effect of skipping them is not.
Mistake 5: Ignoring appliance openings — A built-in oven, integrated fridge, or dishwasher with wrong opening dimensions requires expensive on-site modifications or a cabinet replacement.
Mistake 6: Installing base cabinets on top of a floating floor — Floating floors need to move. Fixed cabinets restrict that movement. The result is buckling, cracked joints, or a floor that never sits flat.
Mistake 7: Templating the countertop before base cabinets are level — Even a one-millimeter height difference across a long run becomes a visible slope in a stone countertop and a stress point for cracks.
Mistake 8: Not adjusting doors and drawers after installation — Hanging the boxes is not the finish line. Every door needs to be adjusted for consistent gaps. Every drawer needs to be checked for smooth travel. This step is often skipped when the job runs long.
Mistake 9: Judging a quote by price alone without checking scope — A cheaper quote that does not include trim, filler, door adjustment, or countertop coordination will cost more to complete than a higher quote that includes everything.
Mistake 10: Receiving custom or imported cabinets without numbered packages and drawings — When a local installer cannot match a box to a position in the room, the risk of errors goes up immediately. This single mistake turns a two-day install into a week of problems.
I have seen every one of these mistakes on real projects. Most of them look small at the start and feel large at the end. The good news is that all ten are avoidable with preparation, the right documentation, and a clear scope before work begins.
Conclusion
A clean kitchen installation starts long before the first cabinet touches the wall. If you are planning a renovation or sourcing custom cabinets, our team at George Construction Group is ready to help — from factory drawings to final installation support. Visit us at georgeconstuctiongroup.com.
Ready to Elevate Your Luxury Project?
Whether you are outfitting a penthouse apartment or designing a custom villa from the ground up, our experts are here to manage the details. From bespoke kitchen cabinetry to comprehensive bathroom spatial design and one-stop material sourcing, we turn complex floor plans into flawless realities.
Share your project details and floor plans below. Our senior design consultants will provide a customized proposal to bring your vision to life.