Changing basement window is a practical home upgrade. Done right, it brings in more light, blocks drafts, and keeps water out. This guide outlines a clear, no-nonsense process that you can follow using basic tools you already own or can rent.
You’ll learn how to replace a basement window at home. The steps work for concrete, block, and brick walls, and for both wood and metal frames. With a calm approach, changing basement window becomes a predictable job rather than a guess.
Why Replace a Basement Window?
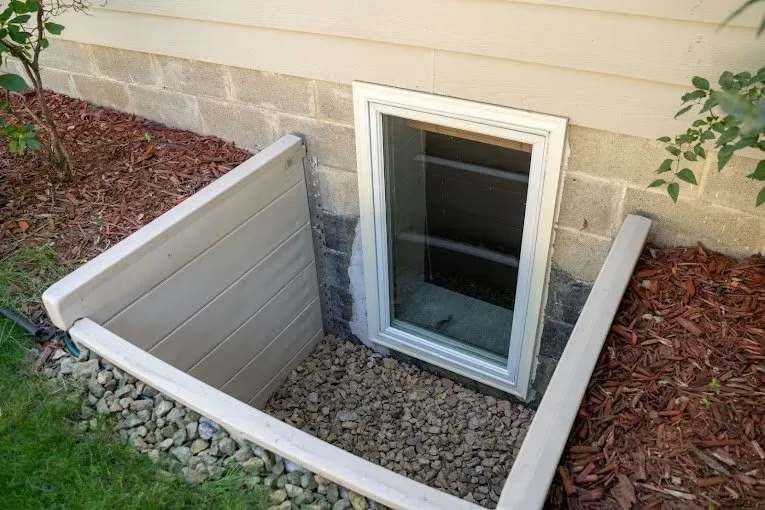
Old basement windows waste energy and allow air to leak. Due to rust and loose mortar, water tracks behind finishes. That leads to peeling paint, musty odors, poor aesthetics, and damaged trim. Besides all these issues, security is another driver. A replacement basement window can match the style of the room, and energy-rated uPVC replacement basement windows help with drafts and condensation. If a basement doubles as a sleeping area, the window may also need to meet egress rules for life safety. In most cases, changing basement window also improves daylight and turns a storage corner into usable space.
Preparations for Changing Basement Window
These checks make changing basement window smoother and more predictable.
- Permits and codes: Call your building department. Structural changes and egress (emergency exit window) upgrades often need permits and inspections.
- Egress checks: Many areas follow IRC guidelines for minimum opening size and maximum sill (bottom) height. You’ll need to confirm local rules before ordering a unit.
- Glass safety: Tempered glass is often required when the sill is low or near doors and windows.
- Moisture history: Look for efflorescence, flaking paint, and rust. If water enters at the sill, adjust the grade and downspouts, and apply new sealant.
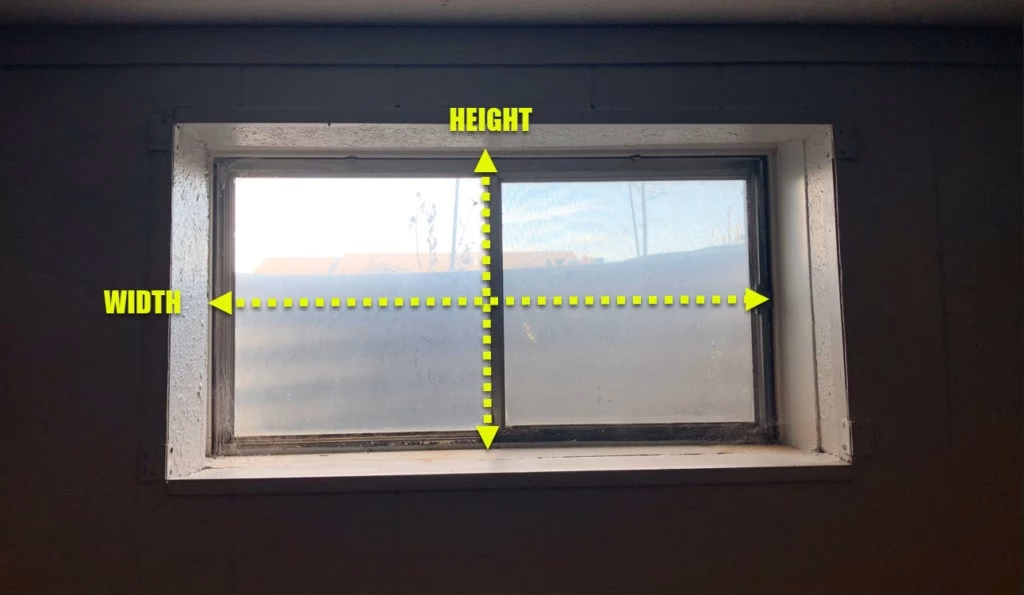
- Measurements: When you shop online, stores list sizes under basement replacement windows. Check the ideal size for your basement window before you place your order.
- Hazards: Pre-1978 paint can contain lead. Use lead-safe Renovation (RRP) rules when cutting or sanding.
- Weather window: Pick a dry day. Don’t let rain and fresh sealant mix.
Steps for Changing Basement Window
Tools and Materials
These basics cover changing basement window without specialty gear.
Tools
Essential items for your project
- Basic tools: Hammer, flat pry bar, screwdriver set, utility knife
- Cutting tools: Handsaw or reciprocating saw
- Drill & fasteners: Drill with masonry bits, concrete screws
- Measuring tools: Tape, small level (2-4 feet), carpenter’s square, pencil
- Shims & supports: Composite or cedar shims
- Sealants & insulation: Exterior caulk/sealant, low-expansion spray foam
- Waterproofing: Self-adhesive flashing tape or a sill flashing kit
- Patching materials: Ready-mix hydraulic cement for cracks/voids
Prepare the Area
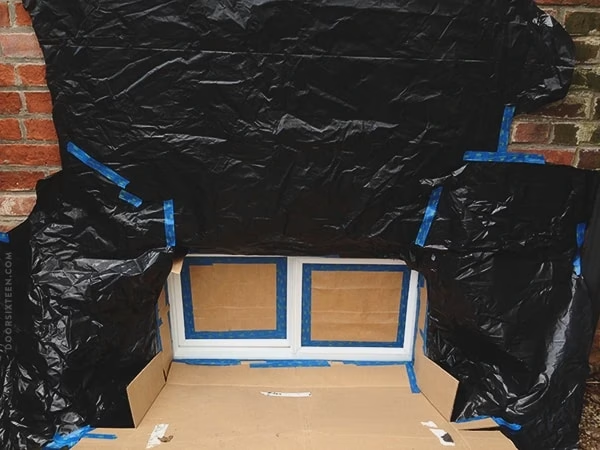
First, clear three to four feet around the inside wall so you can move safely. Cover the floor and nearby furniture. If there’s interior trim, cut along the paint line with a utility knife and gently pry the trim off so the paint doesn’t tear. Outside, set a small work zone. Move pots, cover plants, and clear the window well. Take a quick photo of the outside so you can match your caulk lines and minor touch-ups during cleanup. This setup keeps changing basement window clean and safe.
Remove the Old Window
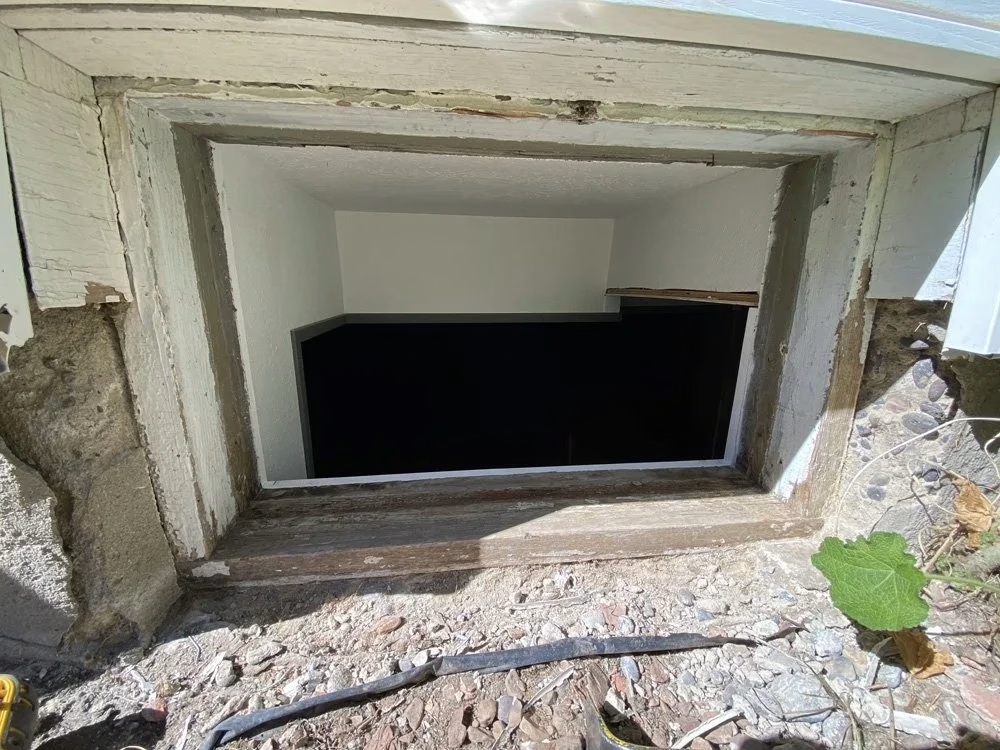
Careful removal sets up changing basement window to go smoothly. For a wood window, pry off the thin stop strips and lift out the sash. Cut the old frame in a few spots with a handsaw or a reciprocating saw, then pry the pieces out. Homeowners removing a single pain metal basement window should plan to back out visible screws first and then cut the frame into smaller pieces if it is stuck. For glass block, scrape out the material between the blocks and remove them piece by piece. Vacuum the opening and fill small holes with ready-mix hydraulic cement. If you notice heavy rust or cracks that appear serious, pause and call a professional.
Prepare the Opening
Set your level on the bottom ledge. It should lean slightly outward so that rainwater drains away. Stick a sill flashing kit or self-adhesive flashing tape across the bottom ledge and a few inches up both sides. Press it firmly onto clean, dry surfaces. Add more flashing up the sides and across the top. Always overlap so the top piece sits over the side pieces. That way, water can’t run behind it. If the opening is a bit wide, create a simple wooden frame from treated lumber and secure it to the wall with concrete screws. This prep improves results when changing basement window in a damp basement.
Expert Recommendation
For villas, apartments, and resort projects, basement windows should be reviewed together with drainage, frame material, opening size, and exterior finish details before production.
Custom Project Windows →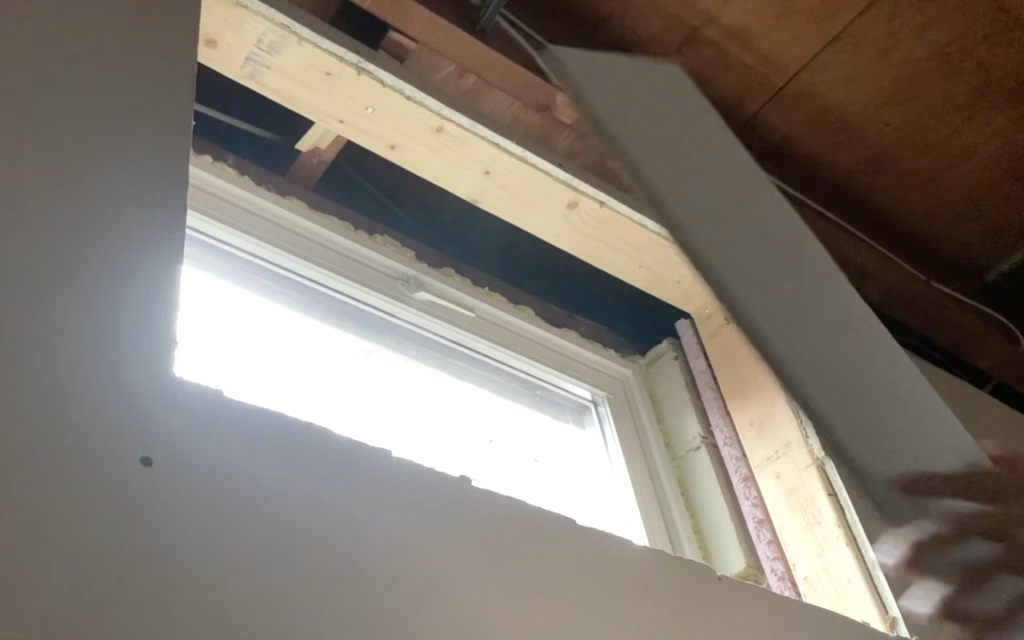
Dry Fit the New Window
If you want a quick checklist on how to install a basement window, the dry-fit step is where most alignment issues show up and are easiest to correct. Set the new window in the opening without any caulk. Center it, add a few shims under the sides. Then, check that your level sits straight and square at your desired height. Open and close the sash to make sure it moves smoothly. If anything rubs or feels tight, adjust the shims now. Mark the screw spots so you know where to fasten later. Then remove the window if you need to tweak the opening or flashing. Dry fitting keeps changing basement window on track and avoids damage.
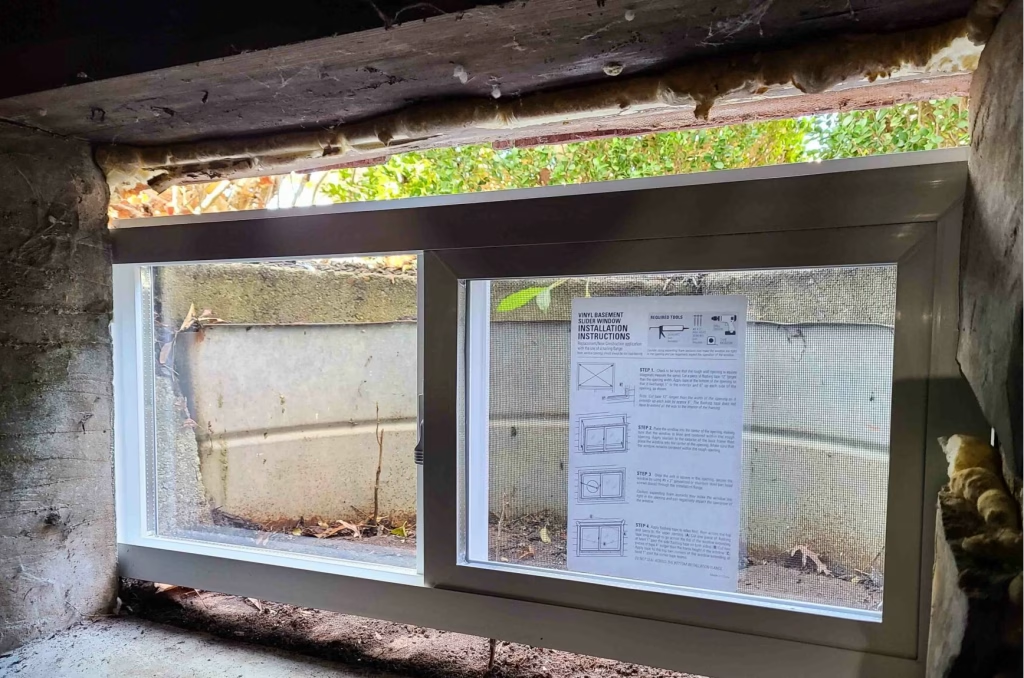
Install the New Window
These fastening and sealing steps cover how to install new basement window with standard homeowner tools and at a steady pace. Run a steady bead of exterior caulk along the back and sides of the bottom flashing. Set the window into the opening and use shims at the sides to keep it straight. Pre-drill through the frame where you marked and drive concrete screws into the wall. Tighten them just enough to hold the frame firmly, but don’t crush it. On the outside, seal where the window meets the wall with flashing tape. Do the sides first and the top last so the top piece covers the side pieces. Following the sequences is core to changing basement window cleanly.
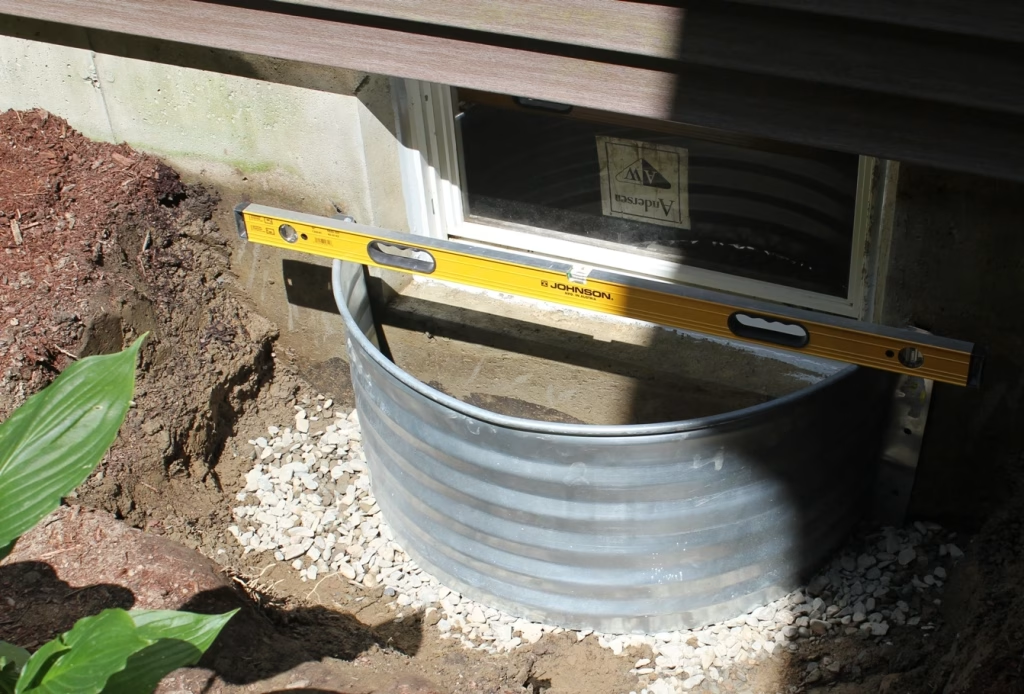
Seal and Insulate
From the inside, spray low-expansion foam into the gap around the window. Work in light passes and let it cure. Trim any extra foam with a utility knife so it sits flush. Run a neat bead of exterior-grade caulk along the inside edge and the outside edge of the frame to close any small gaps. Look along the bottom of the window for tiny drain holes and keep them clear so water can get out.
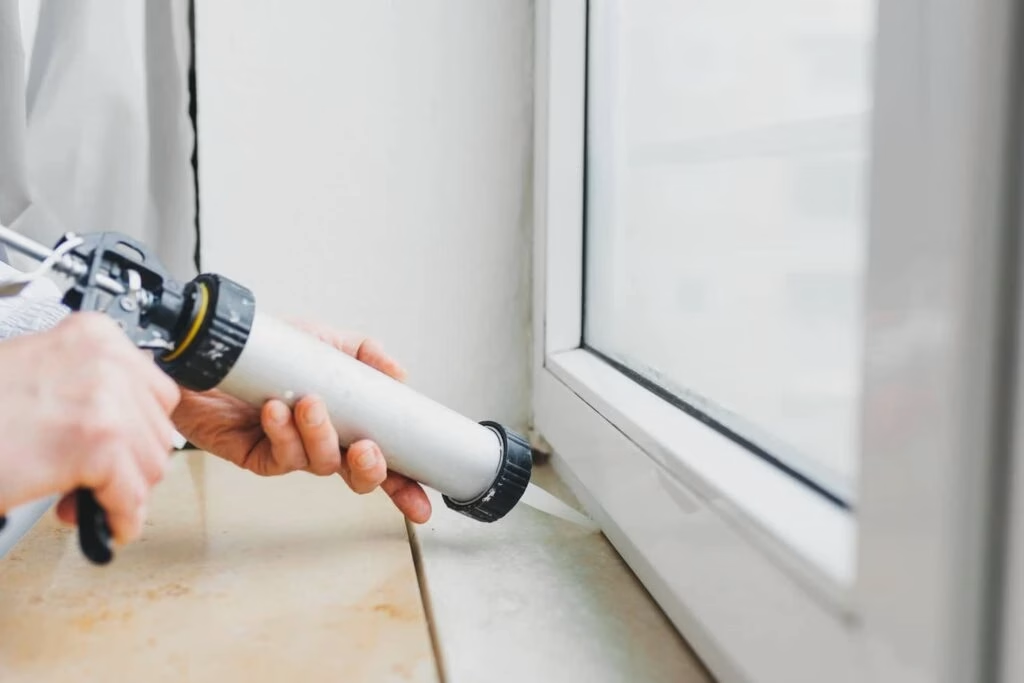
Finish the Installation
Reinstall the interior trim or add new casing. Leave a small gap you can fill with paintable caulk for a clean line. Outside, touch up small cement spots and run a smooth caulk line where needed. Put back any well covers or grates. Open and close the window to confirm it works easily. Then, clean the glass and pack up the work area. Take a few photos for your records. These final checks close out changing basement window with a clean finish.
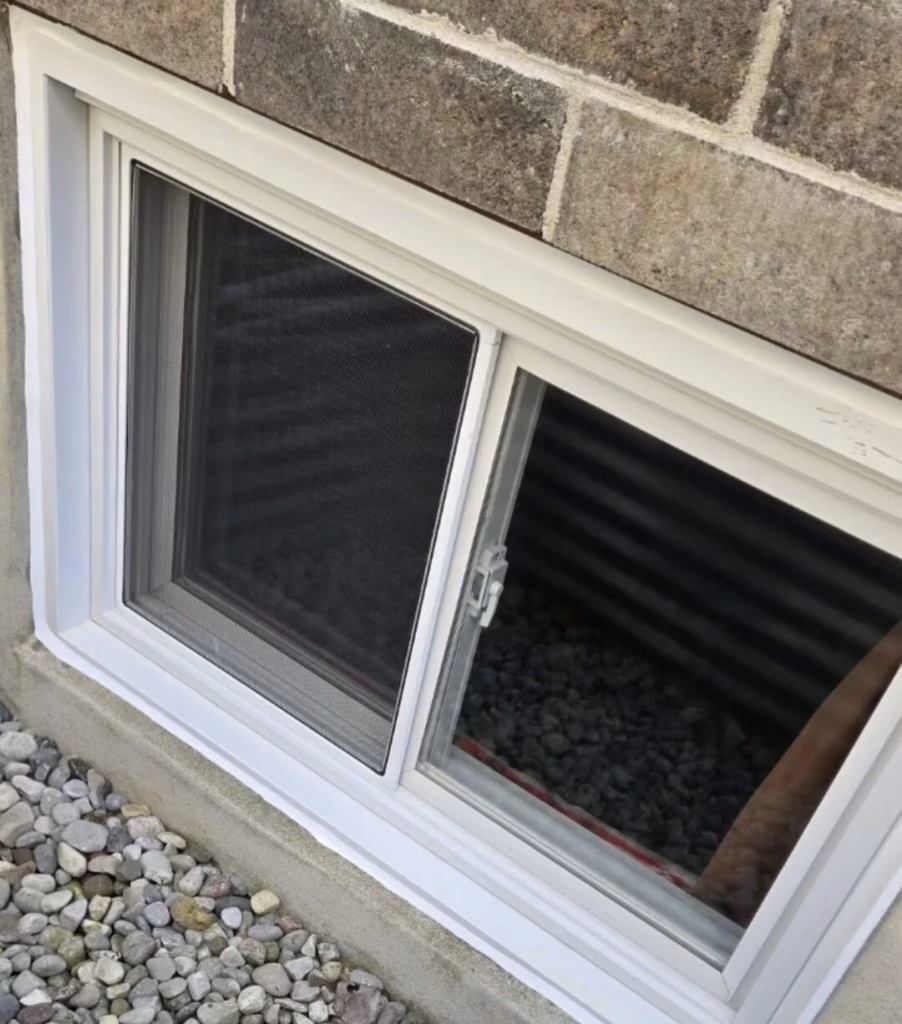
Pro Tips for a Smooth Installation
- If the grade slopes toward the wall or downspouts dump near the window, fix those issues before sealing anything. Good site water control protects your new unit.
- Aluminum framescan sweat in cold seasons. Vinyl, fiberglass, or composite frames often reduce the risk of condensation at equal R-values (insulation resistance).
- Standard foam expands too much and can cause frames to distort. Low-expansion foam stays stable and protects the reveal.
- When you are replacing basement windows across several rooms, keep the shim thickness and screw spacing consistent so the sightlines match.
- Place fasteners in the strong zones of the frame and avoid over-tightening. It is a common reason new sashes (the part that holds the window glass) scrape within weeks of installation.
- Photograph the sill pan, flashing laps, shims, and screw pattern. This step helps if you ever need to check hidden layers after changing basement window.
Project Case Snapshot
Basement Window Upgrade for a Villa Renovation
The owner wanted more daylight in the lower-level guest area, but the old frames had drafts, moisture marks, and uneven openings.
We reviewed the opening sizes, drainage direction, frame material, glass options, and exterior finish details before matching custom project windows.
The basement became brighter, cleaner, and easier to maintain, while the window style stayed consistent with the villa’s full-home renovation plan.
For villas, apartments, resorts, and full-home projects, basement windows should not be selected as isolated products. They should match the project’s waterproofing, design style, material schedule, and long-term maintenance plan.
Basement Windows FAQ
Is it hard to replace basement window?
What types of basement windows are available?
How much does basement windows replacement cost?
How do I waterproof around a basement window?
Conclusion
Changing basement window is manageable with a clear plan. It all starts with measuring the wall opening, adding simple flashing, dry fitting, then setting the window level and square. Rest is a routine process like anchoring, sealing gaps, and keeping drain holes clear.
If you need assistance, our one-stop service handles the entire job. You receive photo records, a plain-language warranty, and care notes. Tell us your goal, and we will take it from there.
Plan a Better Project
Need Windows for a Villa, Apartment, or Full-Home Renovation?
Basement window replacement is only one part of a successful renovation. If your project also involves doors, cabinets, bathroom products, lighting, furniture, or custom space design, George Group can help you review the full material scope before you order.
Send us your drawings, opening sizes, style direction, or project list. Our team can help match products, check key details, and support custom production for full-home and multi-space projects.